- EAT SMARTER+
- Brainfood
- Kartoffeln
- Lieblingsrezepte
Willkommen bei EAT SMARTER
Europas größte Foodsite für gesunde Ernährung!
Auf unserer Seite finden Sie über 100.000 gesunde Rezepte, die exklusiv für EAT SMARTER von Ernährungs-Experten entwickelt und geprüft wurden.
Über uns
EAT SMARTER ist mehr als nur eine Koch-Webseite
Das Konzept von EAT SMARTER ist einzigartig: Unsere Website bringt über 80.000 gesunde Rezepte, die alle exklusiv für EAT SMARTER nach speziellen Rezeptkriterien entwickelt wurden, sowie interessante Artikel von Experten über Ernährung und Gesundheit...
Exklusiv
Unsere digitalen Kochbücher sind ideal zum Stöbern
Klicken Sie sich durch die Sammlungen, die Sie interessieren und entdecken Sie so neue Lieblings-Rezepte:
NEU
350 exklusive Infografiken in unserem großen Lebensmittel-Lexikon
Erfahren Sie bei EAT SMARTER, welche Auswirkungen einzelne Lebensmittel auf Ihre Gesundheit haben.
Infografik des Monats
Weitere Lebensmittel:
Thema des Tages
Rezept des Tages
Exklusiv bei EAT SMARTER
Deutschlands bekannteste Starköche...
Von Christian Rach bis Cornelia Poletto: Kochen Sie zu Hause gesunde Rezepte von bekannten Köchen nach.
...und Deutschlands führende Ernährungs-Experten!
Orientieren Sie sich an der Einschätzung von so bekannten Experten wie Dr. Riedl, Frau Dr. Iwan, Prof. Froböse, Dr. Rubin...
Diäten & Co.
EAT SMARTER eignet sich ideal zum Abnehmen. Wir lieben Intervallfasten!
Wir vergleichen für Sie alle wichtigen Diäten und sagen Ihnen, welche Abnehmmethode speziell für Sie wirkt.
Unsere Beginner's Guides:
Ernährungswissen
EXKLUSIV


Exklusiv
Planen Sie für eine ganze Woche voraus!
Unser 7-Tage-Plan für die nächste Woche. Rezeptideen für morgens, mittags und abends. Saisonal, gesund und alltagstauglich!
Exklusiv
Die neuesten Studien
Hier finden Sie interessante Studien zu den Themen Abnehmen, Ernährung, Gesundheit und Fitness.
Exklusiv
EAT SMARTER hat über 3000 gesunde Rezepte für Kinder jeden Alters
Mit unseren Rezepten zeigen wir Ihnen, wie Sie eine gesunde Kinderernährung umsetzen können.
News zu Kinderernährung
EAT SMARTER Shop
Saisonale Rezeptkategorien September & Oktober
Thema des Tages
Rezept des Tages


Weitere Partner
Derzeit beliebt


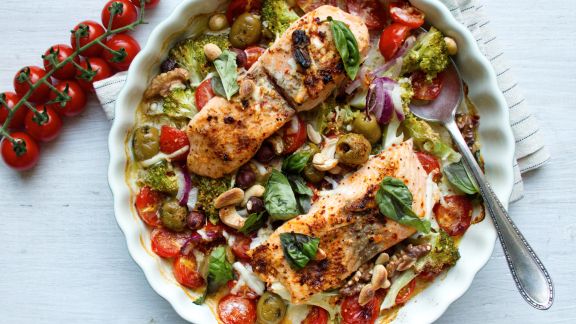


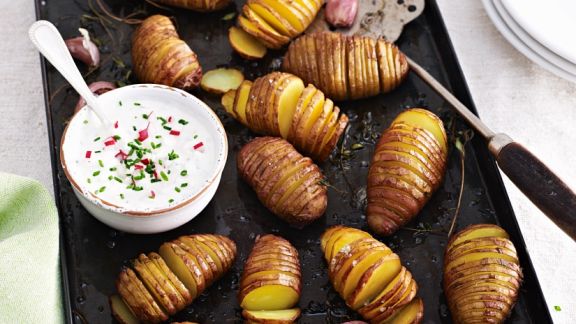


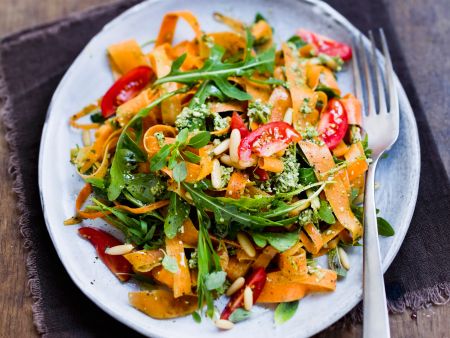


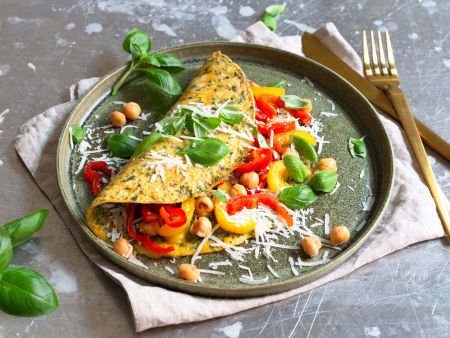




 Starten Sie jetzt mit unserem Onlinekurs "Gesund abnehmen"




 EAT SMARTER-Zeitschriften Abo
 EAT SMARTER-Jubiläumsbuch

