
- EAT SMARTER+
- Ofengerichte
- Frühstück
- Lieblingsrezepte


Willkommen bei EAT SMARTER
Europas größte Foodsite für gesunde Ernährung!
Auf unserer Seite finden Sie über 100.000 gesunde Rezepte, die exklusiv für EAT SMARTER von Ernährungs-Experten entwickelt und geprüft wurden.


Exklusiv
Achten Sie bei den Rezepten auf unseren Health Score!

Wir haben bei jedem Rezept die Zutaten analysiert und daraus einen exklusiven Health Score errechnet: Je höher der Score, desto gesünder das Rezept.
Exklusiv
Unsere digitalen Kochbücher sind ideal zum Stöbern
Klicken Sie sich durch die Sammlungen, die Sie interessieren und entdecken Sie so neue Lieblings-Rezepte:


 Starten Sie jetzt mit unserem Onlinekurs "Gesund abnehmen"
NEU
350 exklusive Infografiken in unserem großen Lebensmittel-Lexikon
Erfahren Sie bei EAT SMARTER, welche Auswirkungen einzelne Lebensmittel auf Ihre Gesundheit haben.
Infografik des Monats

Weitere Lebensmittel:


Exklusiv bei EAT SMARTER
Deutschlands bekannteste Starköche...


Von Christian Rach bis Cornelia Poletto: Kochen Sie zu Hause gesunde Rezepte von bekannten Köchen nach.
...und Deutschlands führende Ernährungs-Experten!


Orientieren Sie sich an der Einschätzung von so bekannten Experten wie Dr. Riedl, Frau Dr. Iwan, Prof. Froböse, Dr. Rubin...
Diäten & Co.
EAT SMARTER eignet sich ideal zum Abnehmen. Wir lieben Intervallfasten!
Wir vergleichen für Sie alle wichtigen Diäten und sagen Ihnen, welche Abnehmmethode speziell für Sie wirkt.
Unsere Beginner's Guides:
Ernährungswissen
Exklusiv
Das müssen Sie essen, wenn Sie...
Mit gezielter Ernährung können Sie Krankheiten vorbeugen oder auch das Erreichen privater Ziele erleichtern. Ernährungs-Doc Dr. Matthias Riedl erklärt diese Woche, was Sie bei Arthrose essen sollten:

Essen gegen/bei Krankheiten
Essen für private Ziele


Exklusiv
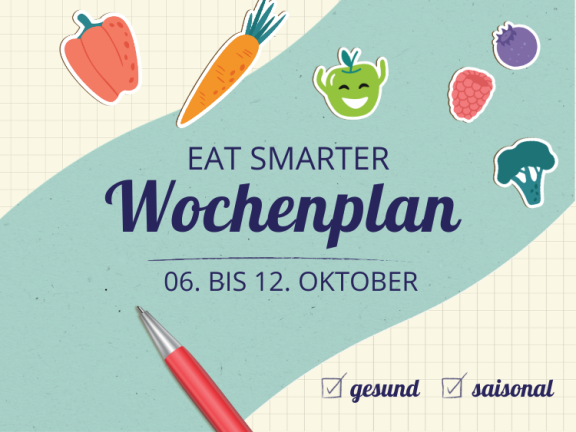
Planen Sie für eine ganze Woche voraus!
Unser 7-Tage-Plan für die nächste Woche. Rezeptideen für morgens, mittags und abends. Saisonal, gesund und alltagstauglich!


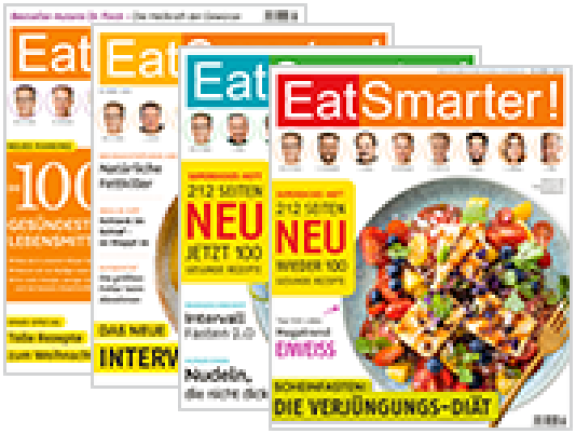 EAT SMARTER-Zeitschriften Abo
 EAT SMARTER-Jubiläumsbuch


